
Thank you to everyone who left kind words about my last post. Half-term arrived bringing lots of time to rest and get back in touch with my sewing machine, so I am feeling much more human now.
This is another post in the “things that were made AGES ago and have been used straight away without photos” series and also in a new category of “photos I took months ago but haven’t had the brain energy to edit/write about.” When I say this was made ages ago I mean the process started a year ago. I bought the fabric (Stof Uno) about this time last year as I liked the idea of a teal and navy/grey quilt after the bold red and black I was working on (obviously I had to get a tiny bit of hot pink as well).
I had the fabric packed away until January when I felt like doing some patchwork. I had brought the fabric without a plan, thinking that because they were all the same range then they’d go together. When I started playing with designs I realised the big prints would get lost in a fussy layout and so my googling led me to Bento Box designs. The Bento Box is simpler than it looks to make – make lots of square log-cabins and then chop them into quarters and mix and match the pieces. The initial piecing of the squares was quick and done randomly, but when it was time to create the new squares I had to do some unpicking to get the pink distributed evenly.
I wasn’t too keen on the quilt top once it was finished as it felt too washed out with so much cream and low-volume patterns. I spent ages finding the right shade on navy blue and Annie from the Village Haberdashery ended up ordering a shade that we saw on the Kona colour charts (nautical I think). I added 2 borders of blue with another border made of the leftover strips from the log cabins. This makes it feels like a stronger design, and the deep blue gives it some much needed depth.
Since I had made this without a plan I had lots of fabric left over. I decided to piece the back in a giant Bento Box design. I spent a whole evening at Knitting Night with graph paper planning the dimensions of the back in relation to the pieces I had to use up. In the end I had to buy the last remaining piece of blue flowers and add some joins in one of the aqua flower sections but I just got it to fit.
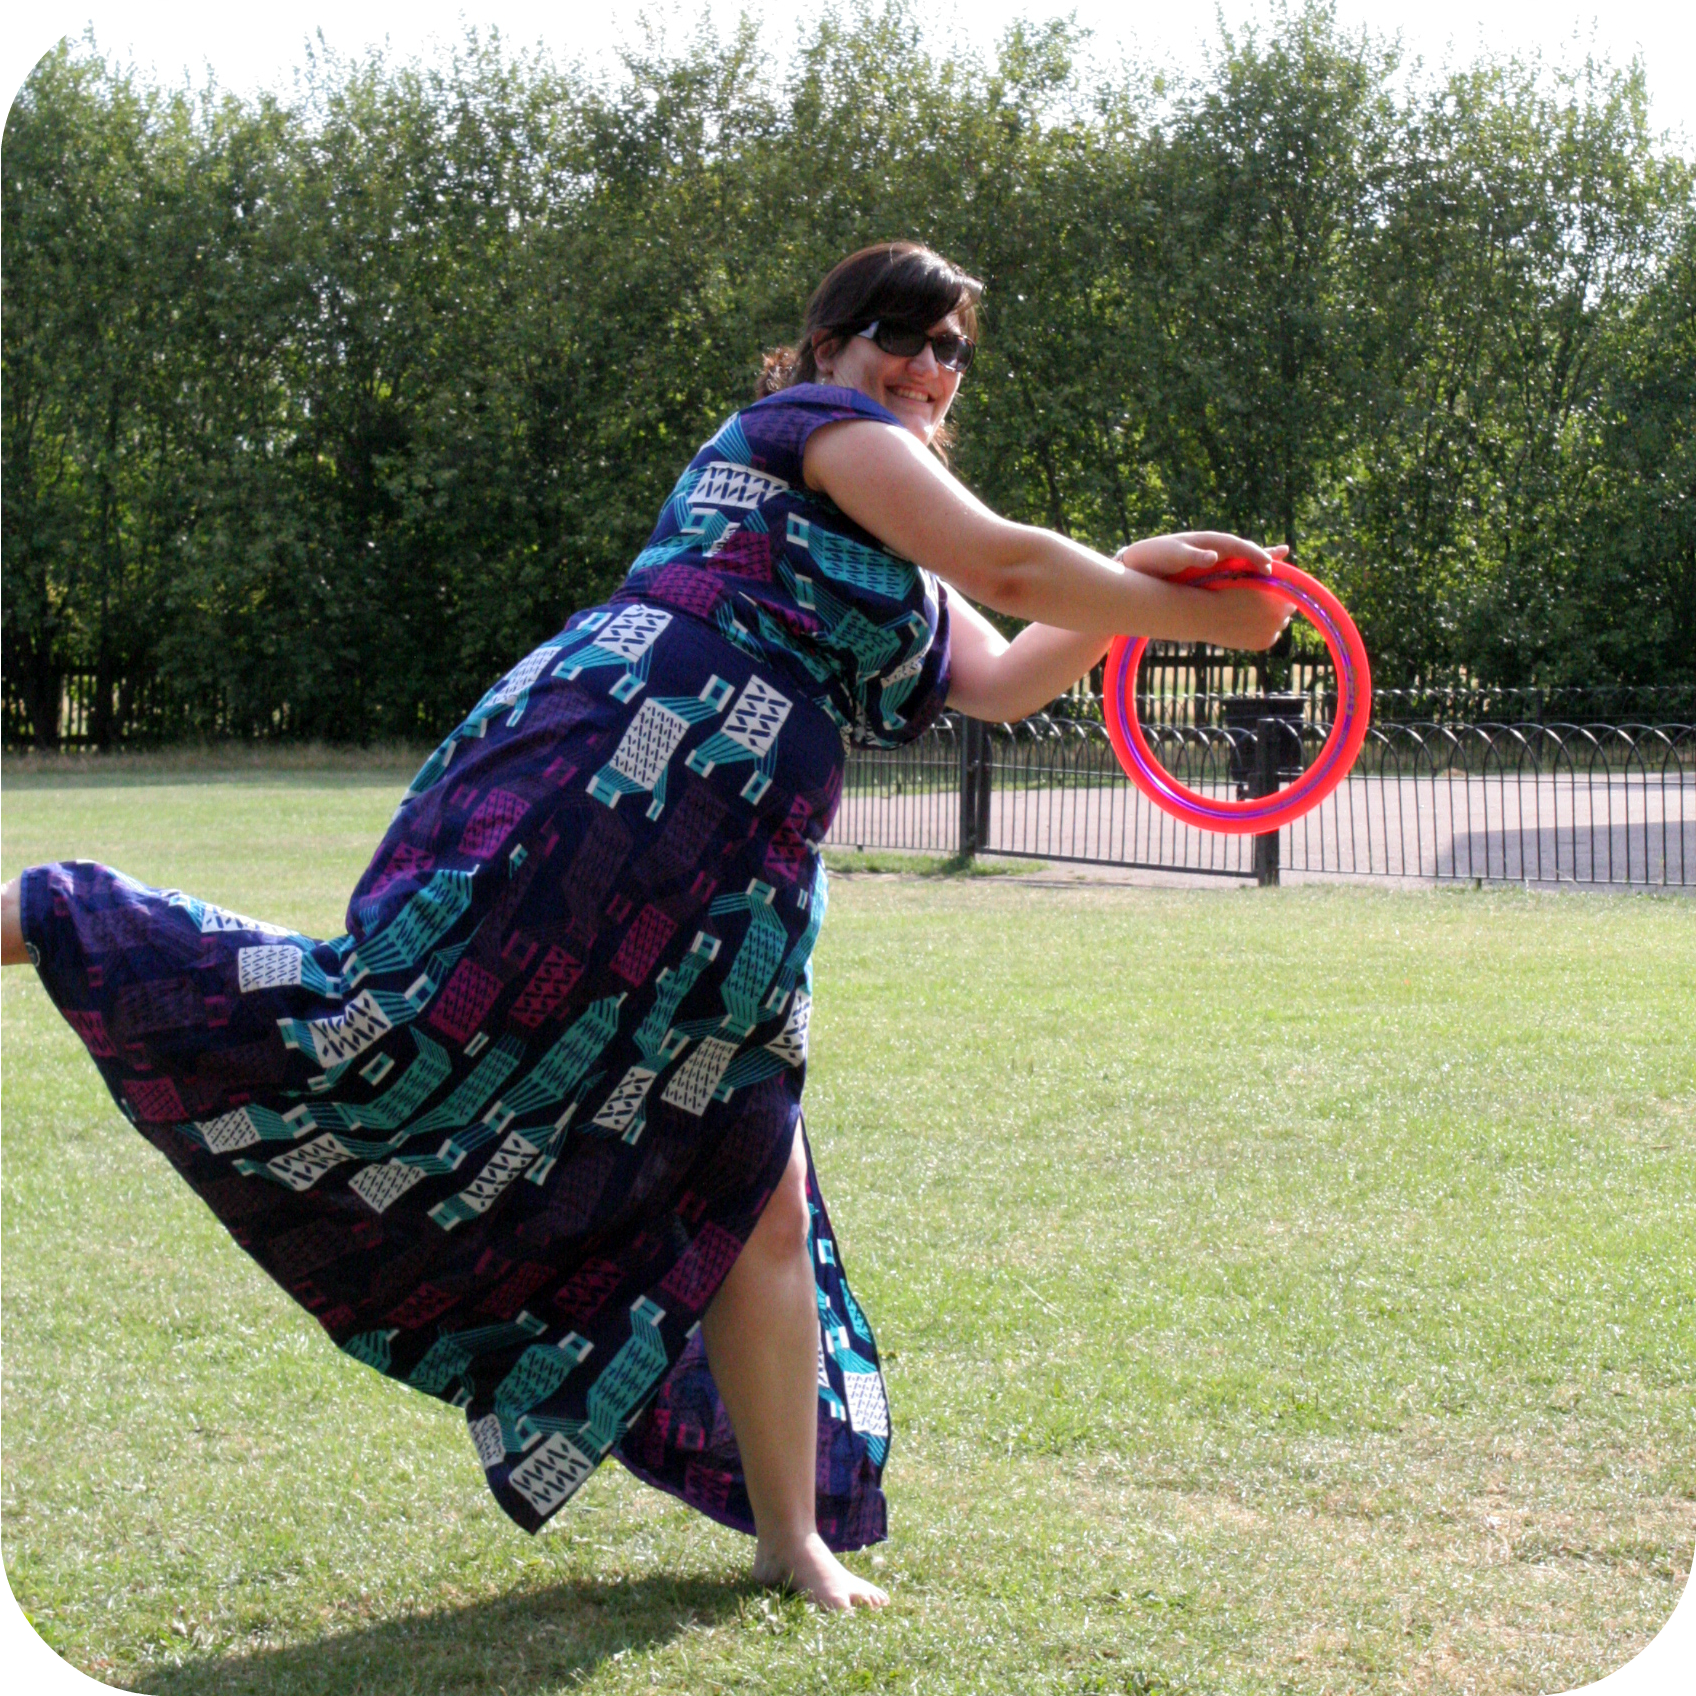
This was February and I had pin basted the layers together (I took it to school in half-term and laid it all out on the hall floor) but the physio said I needed to rest my wrists again, so it got packed away in a bag until the summer. In the summer I quilted it with navy straight lines around the borders, and variegated turquoise wavy lines in the centre panel. I did the outer straight-line quilting first and bound the edge with more pieced scraps. I wasn’t sure how densely to quilt the waves and may or may not have snoozed under it before it was fully finished. In the end the waves (random, not echoing each other) are about an inch apart at the closest points and maybe 4 inches at the furthest points. As I was finishing the quilt we were getting a hot spell in the summer, so the quilt went straight to my bed to use instead of my summer-weight duvet. It is light and not too warm, but perfect for having a bit of weight over your legs (I need to feel bedding on me and sheets are just too light and easily kicked away). The quilt was on my bed all summer, until I took it to the park one morning at the end of the holidays. Now it is back on my bed on top of my light-duvet to provide an extra layer before I get my super thick winter duvet out (definitely not needed this weekend!).

 I also have a patchwork project in progress, to make a quilt for a friend’s baby. In knitting I have finished the body of a Hetty cardigan and chose the buttons yesterday so I’m ready to do the button bands (I’m saving the sleeves until last so I can be sure how much yarn I have and how long they can be), and I’ve just cast on a scarf (to go with my unmade coat) as a portable project now my cardi is too bulky to carry around.


